|
Steps followed in standard search data recovery
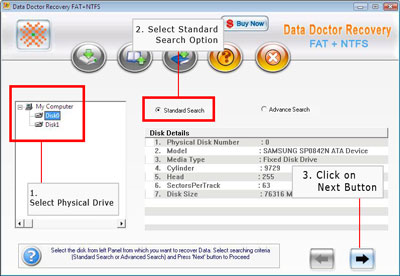
- Click the Data Doctor Recovery NTFS - FAT desktop icon (or select from the Windows programs list) to activate the product.
- Select the physical disk from left panel and check on standard search and Click the next button. Window is displayed as:
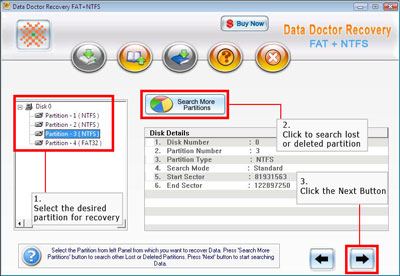
- Select the logical partition for data recovery from left panel. Then click on next button or use "Search More Partitions" for searching missing partition (in case you are not able to view the required partition). The window is displayed as below:
- After recovery is completed the recovered data is viewed on the left panel.
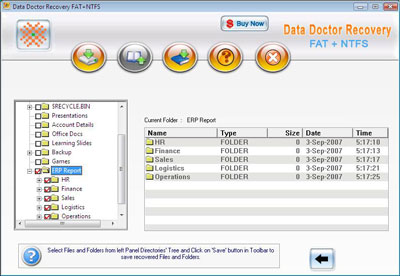
- Select and save the data from left panel or right panel using right click or save the data from the Tool bar.
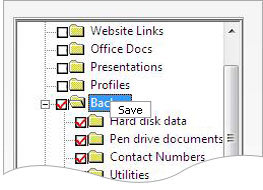
- After clicking on save button the following screen appears:
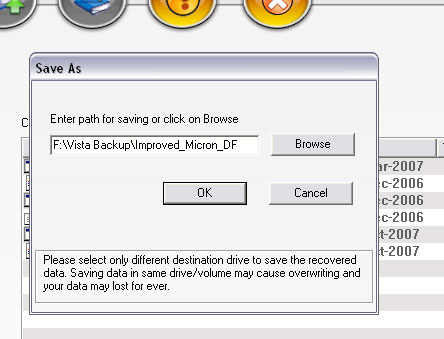
- Select the location to save the recovered data.
Note- In some cases data is not recovered with the standard search. So it is recommended to use the advance search mode for the data recovery.
Steps followed in advanced search data recovery
- Click the Data Doctor Recovery NTFS - FAT desktop icon (or select from the Windows programs list) to activate the product.
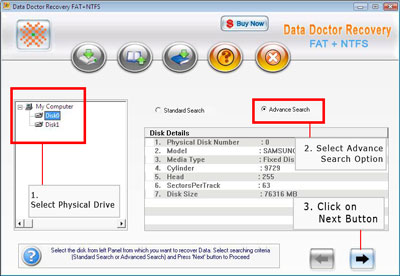
- Select the physical disk from left panel and check on advanced Search and Click the next button. Window is displayed as:
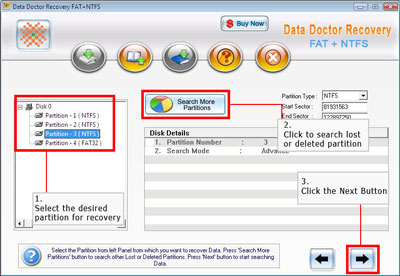
- Select the logical partition for data recovery from left panel. Then click on next button or use "Search More Partitions" for searching missing partition (in case you are not able to view the required partition). The window is displayed as below:
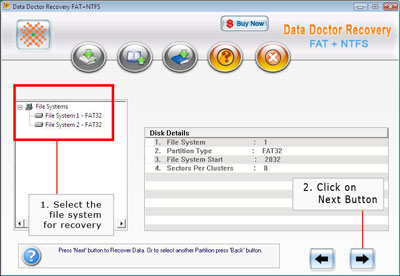
- Select the file system from left panel for the data recovery and click next button.
- After scanning is completed the recovered data is viewed on the left panel as follows:
- Select and save the data from left panel using right panel on right click or save the data from the Tool bar as follows:
- After clicking on save button the following screen appears:
- Select the location to save the recovered data.
|
